A customer once described the problem better than any spec sheet could. “It pops like popcorn,” he said, halfway through explaining why a batch had started failing overnight. The tempting response is to defend the material. The correct response, and the one we used, was to ask four questions first: how long had the spool been open, how was it stored, which material, and what temperature was it printing at. The answers pointed at moisture: an open spool on a shelf through a humid week, and the fix was drying rather than blame. That order matters, because the same symptom has several possible parents, and drying is only the right answer after you’ve confirmed which one you have.
This guide covers how to dry filament in that order: how to tell a spool is actually wet, what water does inside the melt, the drying temperatures published by material guides, the oven method’s real risks, how to keep filament dry after drying it, and the honest case where no amount of drying saves the spool. The supply-chain half of the problem is packaging; the arrival-check half is covered later in this guide.
How to Tell Filament Is Wet
The symptoms arrive at the printer, and they’re consistent enough to read once you know them:
- Popping or hissing at the nozzle. The classic sign. Water flashing to steam in the melt zone makes audible noise and spits.
- Stringing that wasn’t there last week. Wet PETG strings badly; wet PLA strings too, just less dramatically.
- Bubbles or steam wisps in the extruded strand, and rough, bubbly surfaces on parts that used to print clean.
- Brittleness. Wet PLA snaps when bent and snaps in the bowden tube or spool holder. This one is sneaky, because brittle filament feels like a “bad batch” when it is usually a storage event.
One spool showing one symptom is a suspicion. Two or more together is a diagnosis, and the four storage questions from the opening are how you confirm it before acting. The bend test adds a cheap physical check at any point: snap a short length of filament by hand. Fresh PLA bends and whitens before giving; damp PLA snaps clean with a brittle crack. It takes seconds, needs no equipment, and works on the shelf, at the dock, or mid-troubleshooting at the printer.
Why Wet Filament Ruins Prints
The mechanism is simple and violent. The melt zone runs far hotter than water boils, so every bit of absorbed moisture flashes to steam inside it, tearing the extruded strand into a foam of micro-bubbles before it reaches the part. That accounts for the popping, the bubbles, and the rough surfaces in one stroke. It also accounts for the weak layers: a strand full of voids bonds to the layer below through less actual material, and for long runs that fail partway through a batch that was only partly damp.
The second mechanism is slower and worse. Prolonged moisture exposure, a spool that sat damp for months, can hydrolyze the polymer itself, chemically degrading the resin. Drying removes water; it does not un-degrade plastic. That distinction is what the last section of this guide is about, and it’s why the storage half of the problem deserves as much attention as the rescue half.
The Right Way to Dry It
A dedicated filament dryer is the best tool: controlled temperature, even airflow, and a spool chamber designed for the job. Current material guides converge on similar ranges, cross-checked from published recommendations, and treated as starting points, with your supplier’s per-material drying spec as the controlling number:
| Material | Published drying range | Typical duration |
|---|---|---|
| PLA | 45–55 °C | 4–7 hours |
| PETG | 60–65 °C | 4–6 hours |
The PLA range is deliberately conservative because PLA softens not far above it, around the low sixties Celsius, and a spool that deforms on the dryer rack has traded a moisture problem for a geometry problem. Some setups also allow drying while printing, at the lower end of the range; the published guidance for that mode runs around the mid-forties for PLA. After drying, print a test part before committing a long run, and compare it against the same part from a known-dry spool if you have one. The spool tells you when it’s ready, timer or no timer.
What to look for in a dedicated dryer, since the market is crowded: a temperature range that honestly covers PLA’s low end (some cheap units bottom out too hot for it), a chamber that fits your largest spool width with room for air to move, and a vent design that actually carries moisture out instead of warming it in place. Print-through ports matter if you plan to dry while printing, which works well at the lower settings. None of these features is exotic; all of them separate a dryer from a warm box.
A note on drying while printing, since it splits opinion: it works, at the low end of each material’s range, and it suits farms running known-dry inventory that simply lives in humid air. What it can’t do is rescue a genuinely soaked spool mid-job — the airflow and time aren’t there. Treat in-print drying as maintenance, and reserve the full-temperature, full-duration cycle in the table for recovery.
The Oven Method, Carefully
The kitchen oven is the most available dryer and the least trustworthy one. The problem isn’t the concept; it’s the thermostat. Home ovens cycle and drift, and at filament-drying temperatures the swing can overshoot past PLA’s softening point without the display ever showing it. Community experience is blunt about this: ovens have melted spools that were set “correctly.” The safeguards, if the oven is what you have:
- Verify with a separate thermometer placed at spool level, and trust that reading over the dial.
- Preheat and settle before the spool goes in, so the drying period starts from a stable temperature.
- Stay at the low end of the range for PLA, and treat sixty Celsius as a ceiling, not a target.
- Keep food and filament apart: a dedicated drying session, never a batch alongside dinner.
A food dehydrator with adjustable temperature sits between oven and dedicated dryer: more stable than the oven, cheaper than the dryer, and fine for PLA and PETG ranges. Whichever route you take, the spool comes out warm, and warm filament reabsorbs moisture faster, so have the sealed bag and desiccant ready before you start.
Keeping It Dry After
Drying fixes the spool once; storage decides how soon you’ll do it again. The protocol that works is unglamorous:
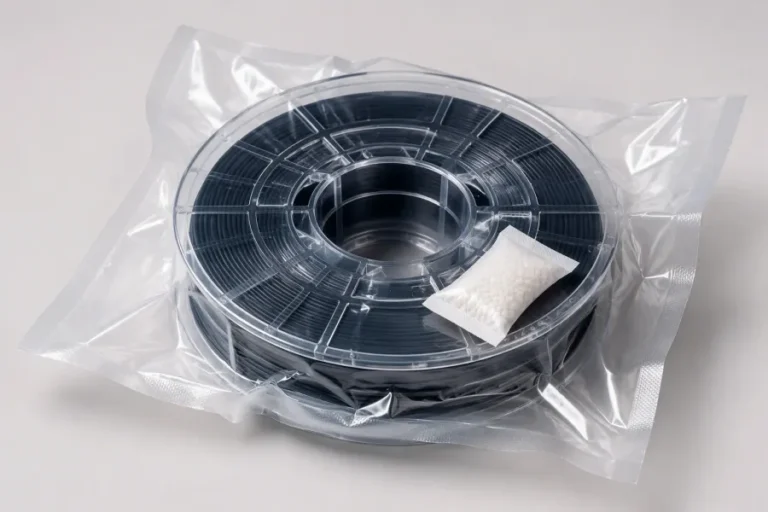
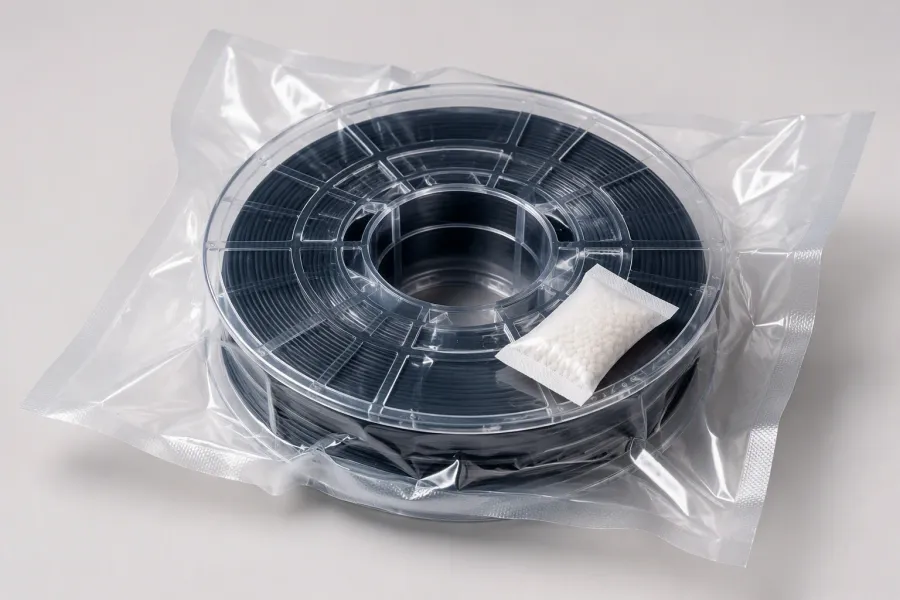
- Seal with desiccant the moment a session ends: bag, sachet, air pressed out.
- Date every opened spool’s bag. A dwell limit you can’t see is a dwell limit you don’t have.
- Rotate first-in-first-out across the shelf, so no spool ages invisibly at the back.
- Check seals on arrival from your supplier too: vacuum film taut, desiccant present, carton intact. Our arrival-check protocol covers the receiving side, and the storage half of the PLA explainer the shelf side.
Farms and busy shops get the most from one extra habit: dry-and-return discipline, where every spool goes back into its bag the same minute the print ends. The minute version keeps spools dry for their working life; the shift version re-runs this guide monthly.
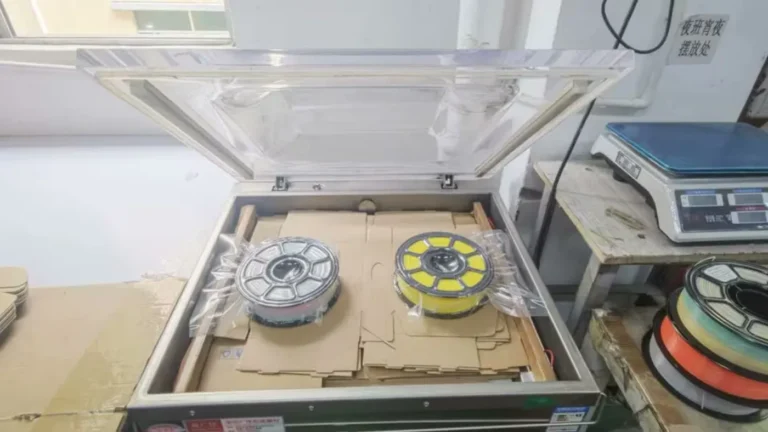
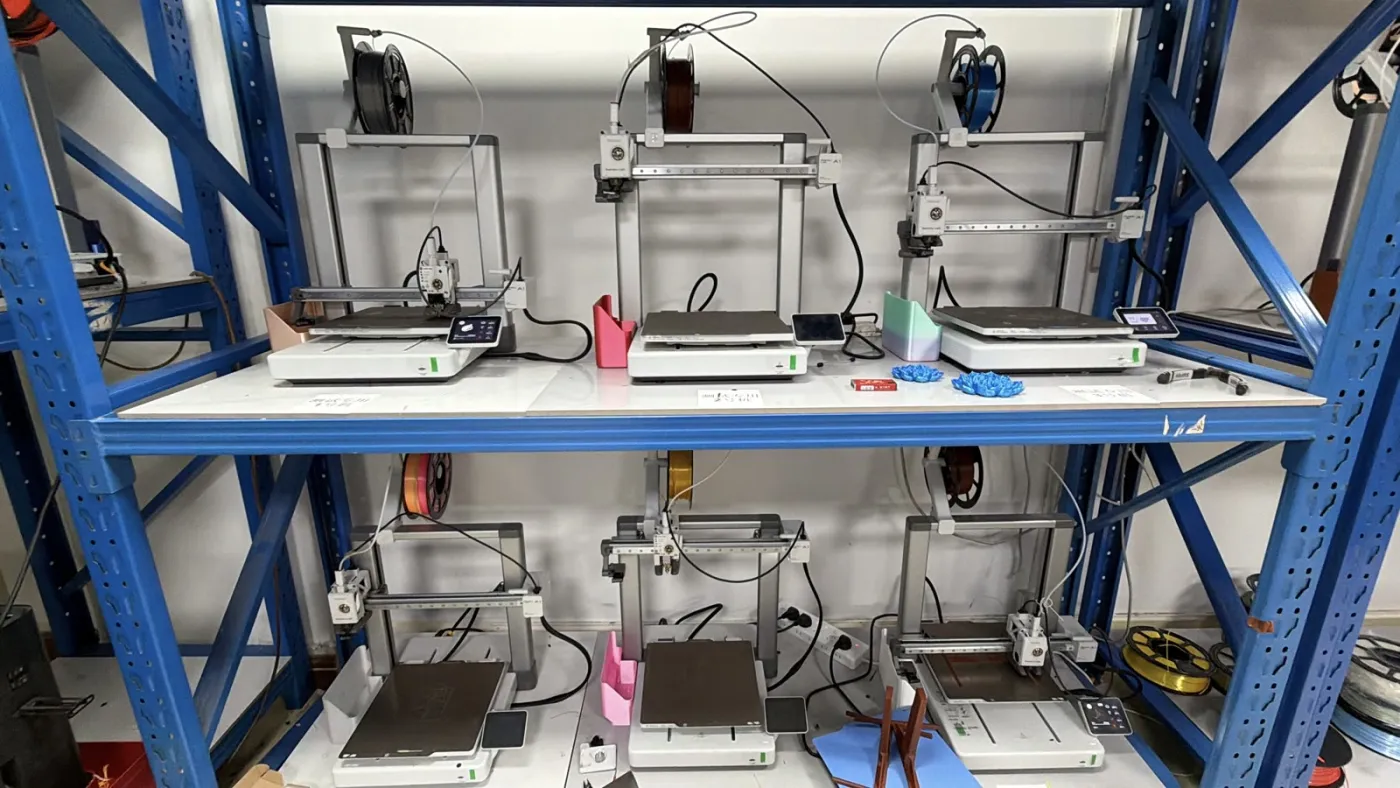
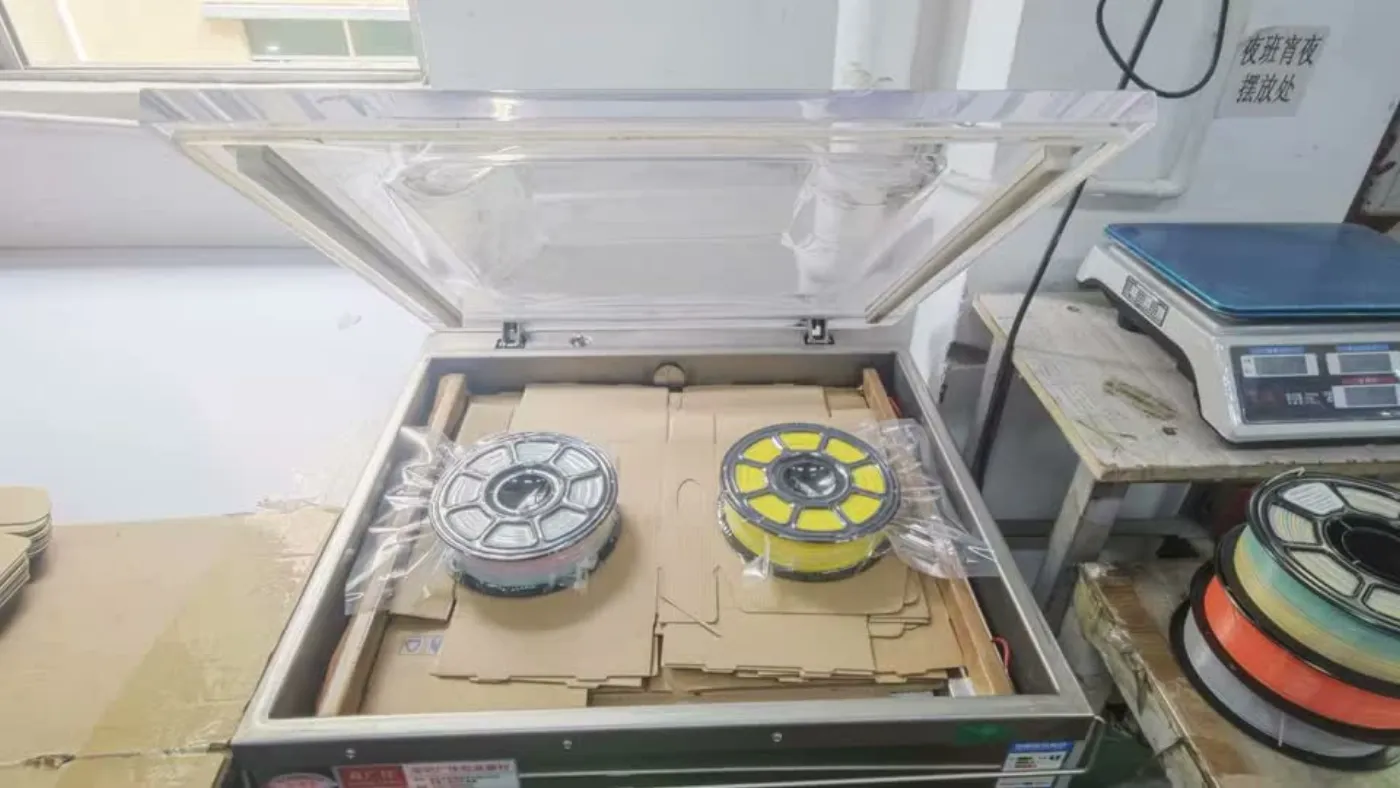
At fleet scale, two practices earn their keep. A drying station with a log — spool, date, duration — turns moisture from a recurring mystery into a maintenance record your team can read. And batch-level symptom mapping pays for itself quickly: when one supplier’s spools keep arriving suspect while another’s arrive clean, you’ve produced evidence no sales call can argue with, and the conversation moves to packaging and seals, where it belongs. Our own answer sits on the supply side: every spool leaves the plant vacuum-sealed with desiccant, and the per-material drying spec ships on request.
When Drying Won’t Save It
Two failure states sit past the reach of any dryer. The first is hydrolysis in materials like PETG after prolonged damp storage: the polymer chain itself has degraded, and the spool prints weak even when a moisture test comes back clean. The second is PLA that stays brittle after a correct drying cycle. Snap a short length by hand before and after drying, and if the after still cracks like the before, the resin has taken damage the dryer can’t reach. In both cases the honest answer is to replace the spool and fix the storage that killed it.
The replace-or-rescue call has its own arithmetic for a business. A spool costs one amount; a failed fourteen-hour print costs the material, the machine time, the operator attention, and occasionally the customer’s patience. Once a spool has failed a long print after a correct drying cycle, spending another cycle on it is gambling with the expensive side of that ledger. Mark it, retire it to test prints, and put the question to the storage shelf that let it happen.
The supplier-side answer is prevention, and it’s the reason our spools ship vacuum-sealed with desiccant in every carton: a spool that arrives dry and stays sealed never needs a rescue. The drying spec for each material travels with the order on request, and the PETG filament supply page carries the moisture-handling details for the material that needs this discipline most. More about FilaSource is on the homepage.
Frequently Asked Questions
Can you dry filament in a regular oven?
Yes, with safeguards: verify the actual temperature with a separate thermometer, preheat and let it settle, stay at the low end of the material’s range, and never dry alongside food. Oven thermostats drift at low settings, and an overshoot past PLA’s softening point warps the spool.
How long does dried filament stay dry?
Sealed in a bag with desiccant, months of normal use. Open on a shelf in humid air, a damp week is enough to matter. The variables are seal quality and ambient humidity, which is why the dated-bag habit beats guessing.
Can you over-dry filament?
At published temperature ranges, rarely — the materials tolerate their drying windows well. The real risk isn’t duration but temperature: exceeding the range softens PLA on the rack and can relax spool winding, which is a different failure with the same lost afternoon.
Does drying fix brittle filament?
If the brittleness is moisture, yes, and the bend test confirms it: dry a short length, snap it before and after, and feel the difference. If a correctly dried length still snaps clean, the resin has likely degraded past recovery, and the spool should be replaced.
Should brand-new spools be dried before printing?
A spool from intact vacuum packaging with its desiccant, no. A spool from a damaged seal, a long warehouse dwell, or a humid-climate shipment, treat it as suspect and run the symptom check before a long print. When in doubt, the supplier’s drying spec for the material is one question away.